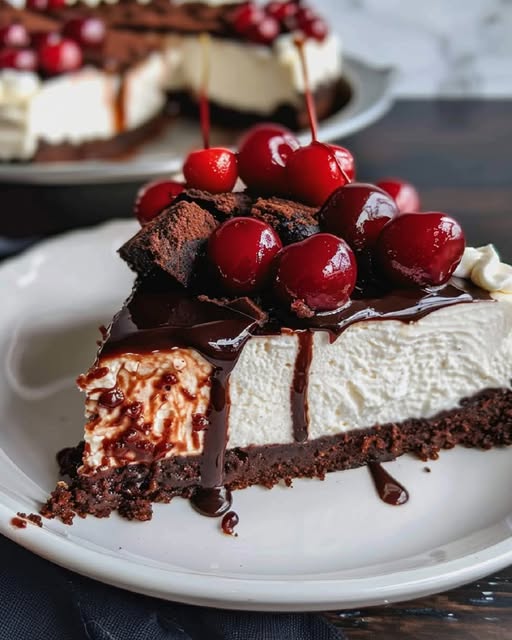
Layered Chocolate Cherry Cheesecake Jar: The Perfect Portable Dessert
Introduction
Who says cheesecake has to be served on a plate? These Layered Chocolate Cherry Cheesecake Jars are portable, stylish, and absolutely delicious. Perfect for picnics, parties, or gifting, these jars combine layers of chocolate crust, creamy cheesecake, and tangy cherry topping in a single-serving format. Let’s create these stunning desserts in just a few easy steps!
Ingredients
For the Chocolate Crust:
- 1 cup crushed chocolate cookies
- 1/4 cup unsalted butter, melted
For the Cheesecake Filling:
- 1 1/2 cups cream cheese, softened
- 3/4 cup powdered sugar
- 1 tsp vanilla extract
- 1 cup heavy cream, whipped to stiff peaks
For the Cherry Topping:
- 1 cup fresh or frozen cherries, pitted
- 1/4 cup cherry preserves
- 2 tbsp sugar
- 1 tbsp lemon juice
Optional Garnish:
- Shaved chocolate
- Fresh cherries with stems

Instructions
Step 1: Prepare the Chocolate Crust
- Mix crushed chocolate cookies with melted butter in a bowl until evenly combined.
- Divide the crust mixture evenly among 6 small jars or glasses, pressing it down gently to create a firm base.
Step 2: Make the Cheesecake Filling
- In a large bowl, beat the cream cheese and powdered sugar until smooth and creamy.
- Add vanilla extract and mix well.
- Gently fold in the whipped cream until fully incorporated.
- Transfer the cheesecake mixture into a piping bag for easy layering.
Step 3: Prepare the Cherry Topping
- Combine cherries, cherry preserves, sugar, and lemon juice in a small saucepan.
- Cook over medium heat for 5-7 minutes, stirring occasionally, until the cherries soften and the mixture thickens.
- Let the cherry topping cool completely.
Step 4: Assemble the Jars
- Pipe a layer of cheesecake filling over the chocolate crust in each jar.
- Add a spoonful of cherry topping.
- Repeat the layers until the jars are filled, finishing with a dollop of cheesecake filling on top.
Step 5: Garnish and Serve
- Garnish the jars with shaved chocolate and a fresh cherry on top for a festive touch.
- Chill the jars in the refrigerator for at least 2 hours before serving.
Tips for Success
- Jar Size: Use 6-8 oz jars for the perfect single-serving size.
- Layer Neatly: Use a piping bag for cleaner layers and a polished look.
- Make Ahead: These cheesecake jars can be made a day in advance and stored in the refrigerator.
Conclusion
These Layered Chocolate Cherry Cheesecake Jars are the perfect blend of flavor, convenience, and presentation. Whether you’re hosting a party or packing a picnic, these jars will be the star of the show. Try this recipe today and share the love, one jar at a time!